
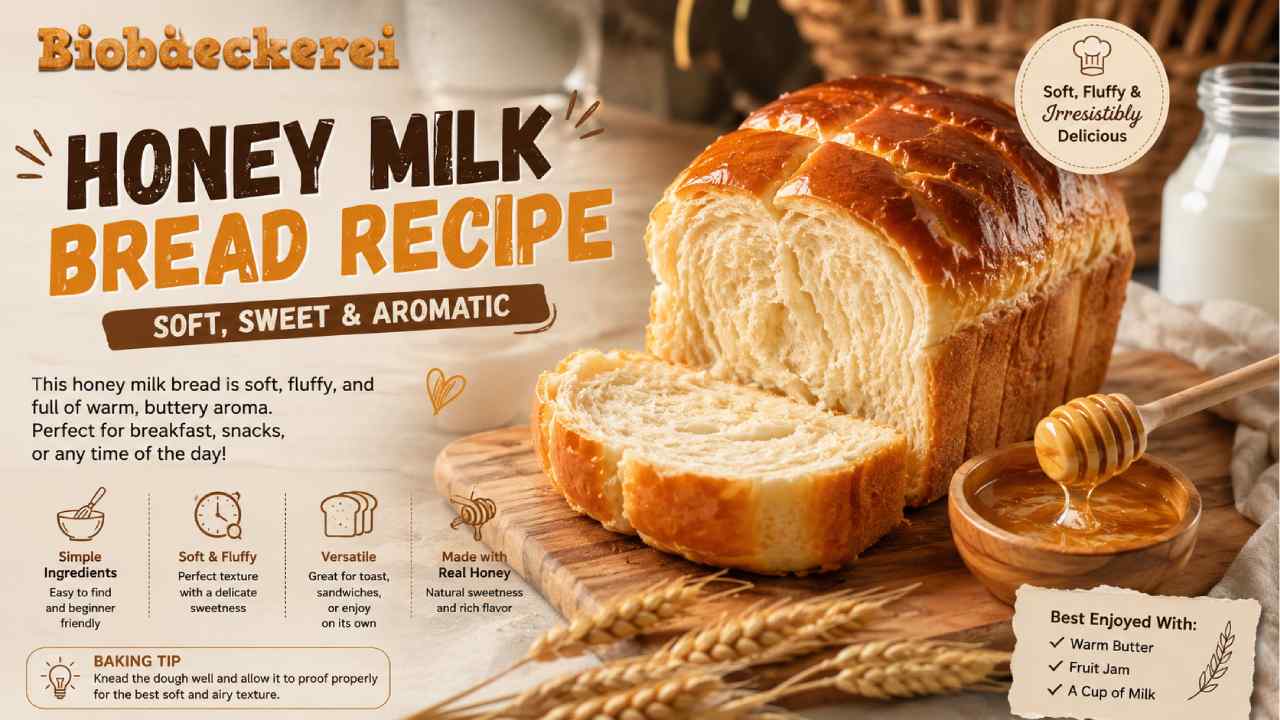
Soft Honey Milk Bread Recipe with an Irresistibly Sweet Aroma
Biobaeckerei – This Honey Milk Bread Recipe creates a tender loaf with a delicate sweetness and a warm, buttery aroma. The combination of milk, honey, butter, and yeast gives the bread a soft crumb without making it overly sweet. Moreover, the recipe uses common baking ingredients, so it works well for everyday home baking. The bread is delicious while still slightly warm. However, its mild flavor also makes it suitable for breakfast, sandwiches, or afternoon snacks. The key is not adding more flour than necessary. A slightly soft dough can feel sticky at first, but proper kneading develops gluten and improves its structure. Therefore, give the dough enough time before deciding to add extra flour. With careful kneading, proofing, and baking, you can produce a fluffy loaf with a lightly golden crust and pleasant honey aroma.
Read Also: Pistachio Kunafa Mochi Brings Chewy, Creamy, and Crunchy Together
Ingredients for Soft Honey Milk Bread
Use accurate measurements whenever possible, especially for flour and yeast. A kitchen scale provides more consistent results than measuring cups. This recipe makes approximately one standard loaf or 8 to 10 individual rolls.
Ingredients:
- 350 g bread flour
- 7 g instant yeast
- 5 g fine salt
- 180 ml lukewarm whole milk
- 50 g honey
- 1 large egg
- 40 g unsalted butter, softened
- 1 teaspoon vanilla extract, optional
- 1 tablespoon milk for brushing
- 1 tablespoon melted butter for finishing
Make sure the milk is warm rather than hot. Excessive heat can damage yeast and interfere with fermentation. Meanwhile, bread flour provides enough protein to develop a strong gluten network. This structure helps trap the gas produced during fermentation. As a result, the finished bread becomes lighter and more elastic.
Step 1: Mix the Dough Until Everything Comes Together
Place the bread flour, instant yeast, and salt in a large mixing bowl. Keep the salt from sitting directly on a concentrated pile of yeast before mixing. Next, add the lukewarm milk, honey, egg, and vanilla if using. Stir everything until a rough and slightly sticky dough forms. At this stage, the dough does not need to look perfectly smooth. Instead, focus on hydrating all the flour. Once no large dry patches remain, transfer the dough to a clean work surface. Alternatively, use a stand mixer fitted with a dough hook. If the mixture feels slightly sticky, avoid immediately adding large amounts of flour. Too much flour can produce a dense and dry loaf. The dough should become easier to handle as gluten develops during kneading.
Step 2: Knead the Butter into the Dough
Begin kneading the dough for several minutes before adding the softened butter. Then, incorporate the butter gradually rather than adding it all at once. The dough may initially become slippery or appear to separate. However, continue kneading and it should eventually become smooth again. By hand, the process may take around 10 to 15 minutes in total. A stand mixer can often complete the job more quickly. The finished dough should feel smooth, elastic, and slightly tacky. You can also perform a simple windowpane test. Stretch a small piece of dough gently between your fingers. If it forms a thin membrane before tearing, gluten development is generally sufficient. This step matters because a strong gluten structure helps create the light texture associated with soft milk bread.
Step 3: Let the Dough Complete Its First Rise
Shape the kneaded dough into a ball and place it inside a lightly greased bowl. Cover the bowl with a clean cloth, reusable cover, or plastic wrap. Then, leave the dough in a comfortably warm place. Allow it to rise until roughly doubled in volume. Depending on room temperature and yeast activity, this can take about 60 to 90 minutes. However, treat the dough’s appearance as a better guide than the clock. Fermentation happens faster in warmer environments and more slowly in cooler rooms. Therefore, avoid forcing the process with excessive heat. During this stage, yeast produces carbon dioxide. The gluten network traps those gas bubbles, which contributes to the bread’s airy structure. Once the dough has expanded noticeably, gently press it to release large pockets of gas before shaping.
Step 4: Shape the Bread for an Even Crumb
Transfer the risen dough to a clean work surface. Divide it into three or four equal portions for a traditional loaf shape. Alternatively, divide it into 8 to 10 portions if you prefer individual honey milk rolls. Shape each portion into a smooth ball and let it rest for about 10 minutes. This short rest allows the gluten to relax, making the dough easier to shape. For a loaf, flatten each portion gently and roll it into a compact cylinder. Place the pieces side by side inside a greased loaf pan. Keeping the portions similar in size helps them rise and bake evenly. While shaping, handle the dough gently. There is no need to press out every small gas bubble. A controlled touch helps preserve some of the structure developed during the first fermentation.
Step 5: Proof the Shaped Dough Before Baking
Cover the shaped bread and allow it to rise again. This second fermentation is known as the final proof. Depending on temperature, it may take around 40 to 60 minutes. The dough should look noticeably puffy and expand toward the top of the pan. However, avoid waiting until it becomes extremely fragile. Overproofed dough can lose strength and collapse during baking. Meanwhile, underproofed bread may rise unevenly and develop a dense crumb. Toward the end of proofing, preheat the oven to 175°C or 350°F. Brush the surface gently with a little milk before baking. This step encourages attractive browning while keeping the crust relatively soft. Handle the risen dough carefully because aggressive brushing can deflate its delicate structure.
Step 6: Bake Until Golden and Fully Cooked
Place the loaf in the preheated oven and bake for approximately 25 to 30 minutes. Individual rolls may finish sooner, so begin checking them earlier. The top should become evenly golden brown. For greater accuracy, an instant-read thermometer can help determine doneness. Enriched breads are generally fully baked when the center reaches roughly 88–93°C or 190–200°F. If the surface browns too quickly, loosely cover it with aluminum foil during the final portion of baking. Once finished, remove the bread from the oven. Brush the hot surface lightly with melted butter. This finishing step adds aroma and helps keep the crust tender. Let the bread rest briefly before removing it from the pan. Then, transfer it to a cooling rack so excess steam can escape.
Simple Tricks for Keeping Honey Milk Bread Soft
Resist the temptation to slice the loaf immediately after it leaves the oven. Fresh bread continues setting as it cools. Cutting it too early can compress the crumb and release too much steam. Instead, wait until the bread is warm rather than piping hot. Storage also matters. Once completely cool, keep the loaf in an airtight container or tightly sealed bag at room temperature. Homemade bread without commercial preservatives will gradually lose freshness. Therefore, freezing is useful if you want longer storage. Slice the loaf first, then freeze individual portions in a well-sealed container. You can reheat the slices whenever needed. For serving, try the bread with butter, fruit preserves, or an additional light drizzle of honey. Its gentle sweetness also pairs surprisingly well with savory fillings.
Why Milk and Honey Work So Well in This Bread
The appealing texture comes from the interaction between several ingredients rather than one secret addition. Milk contributes water, proteins, lactose, and fat depending on the type used. Meanwhile, butter and egg enrich the dough and create a more tender eating experience. Honey contributes sweetness and flavor while also affecting moisture retention. However, honey should not be treated as a magical ingredient that keeps bread fresh indefinitely. Proper kneading, fermentation, baking, cooling, and storage remain essential. This balance is what makes the Honey Milk Bread Recipe reliable. The result should be pleasantly soft rather than cake-like, with enough structure to pull apart without crumbling. Most importantly, the recipe rewards patience. Allow the dough to develop at each stage, and the finished loaf will have the fluffy texture and subtle honey aroma that make homemade milk bread so satisfying.
